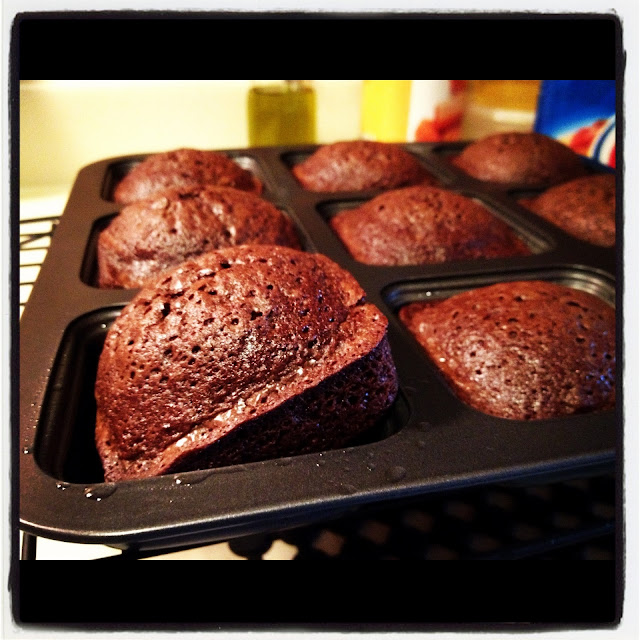
Crazy is as Crazy does....
In this case, Is it crazy to put the ingredients from a s'more into a brownie???
Crazy, huh????
But in this case it works!!!!!
I find myself always thumbing through Facebook, looking for the newest and greatest recipes. As others share Youtube videos and pictures of their pet snakes, I look for recipes.
It's quite the obsession.
I sometimes feel that if I don't check for recipes a million times a day, I will miss out on the next best thing to bake...
So it was with great excitement that I stumbled on the Brown Eyed Baker and found this absolutely PERFECT recipe for S'mores Brownies!!!! PERFECT, I say!
My daughter, once again, is a S'mores Fanatic so this recipe was right up her alley...
It combines a Graham Cracker Crust with Chewy Brownies and a Marshmallow layer with several Graham Crackers smushed on top....
Absolutely Perfect!!!!
The Original Recipe and Post can be found here: S'mores Brownies
It takes a little elbow grease to make these, but it is soooo worth it!

Enjoy!!!!
READ MORE ...
In this case, Is it crazy to put the ingredients from a s'more into a brownie???
Crazy, huh????
But in this case it works!!!!!
I find myself always thumbing through Facebook, looking for the newest and greatest recipes. As others share Youtube videos and pictures of their pet snakes, I look for recipes.
It's quite the obsession.
I sometimes feel that if I don't check for recipes a million times a day, I will miss out on the next best thing to bake...
So it was with great excitement that I stumbled on the Brown Eyed Baker and found this absolutely PERFECT recipe for S'mores Brownies!!!! PERFECT, I say!
My daughter, once again, is a S'mores Fanatic so this recipe was right up her alley...
It combines a Graham Cracker Crust with Chewy Brownies and a Marshmallow layer with several Graham Crackers smushed on top....
Absolutely Perfect!!!!
The Original Recipe and Post can be found here: S'mores Brownies
It takes a little elbow grease to make these, but it is soooo worth it!
S'mores Brownies
INGREDIENTS:
For the Graham Cracker Crust:
3 cups graham cracker crumbs
¼ cup granulated sugar
¼ teaspoon salt
¾ cup unsalted butter, melted
3 cups graham cracker crumbs
¼ cup granulated sugar
¼ teaspoon salt
¾ cup unsalted butter, melted
For the Brownies:
1 box of Brownie Mix
1 bag mini marshmallows
Additional graham crackers, broken into pieces
1 box of Brownie Mix
1 bag mini marshmallows
Additional graham crackers, broken into pieces
DIRECTIONS:
1. Preheat oven to 350 degrees F. Butter a 9x13-inch baking pan. Line the pan with foil, leaving some overhang, and then butter the foil; set aside.
2. Combine the graham cracker crumbs, sugar and salt, mixing well. Add the melted butter and, using a fork, toss until the entire mixture is moist. Dump the graham cracker mixture into the prepared baking pan, pressing it into an even layer. Bake for about 15 minutes, or until golden brown.
3. Meanwhile, prepare your brownie recipe. Pour the brownie batter over the cooked graham cracker crust, spreading it into an even layer. Bake the brownies according to the directions.
4. As soon as the brownies come out of the oven, switch the oven to broil. Pour the bag of mini marshmallows onto the brownies, covering it in an even layer. Pop the pan back in the oven for a few minutes. Keep a close eye on them - you want them to start to char so you get that s'mores flavor, but don't want to completely burn them.
5. As soon as the pan comes out of the oven, top the marshmallow layer with the pieces of graham cracker, pressing down slightly so that the pieces of graham cracker get nestled into the marshmallow.
6. Cool completely and then cut into squares. Store at room temperature in an airtight container.
Enjoy!!!!


